Delta Dental of Minnesota


Digital implementation user guide for small business


Take control of your small business client implementation by using our new process – available in real-time at your fingertips in the Broker Services Portal (BSP).


The new digital implementation tool allows you to:

  • Select the sold dental and vision plans for your client
  • Send a link to your client for ACH authorization
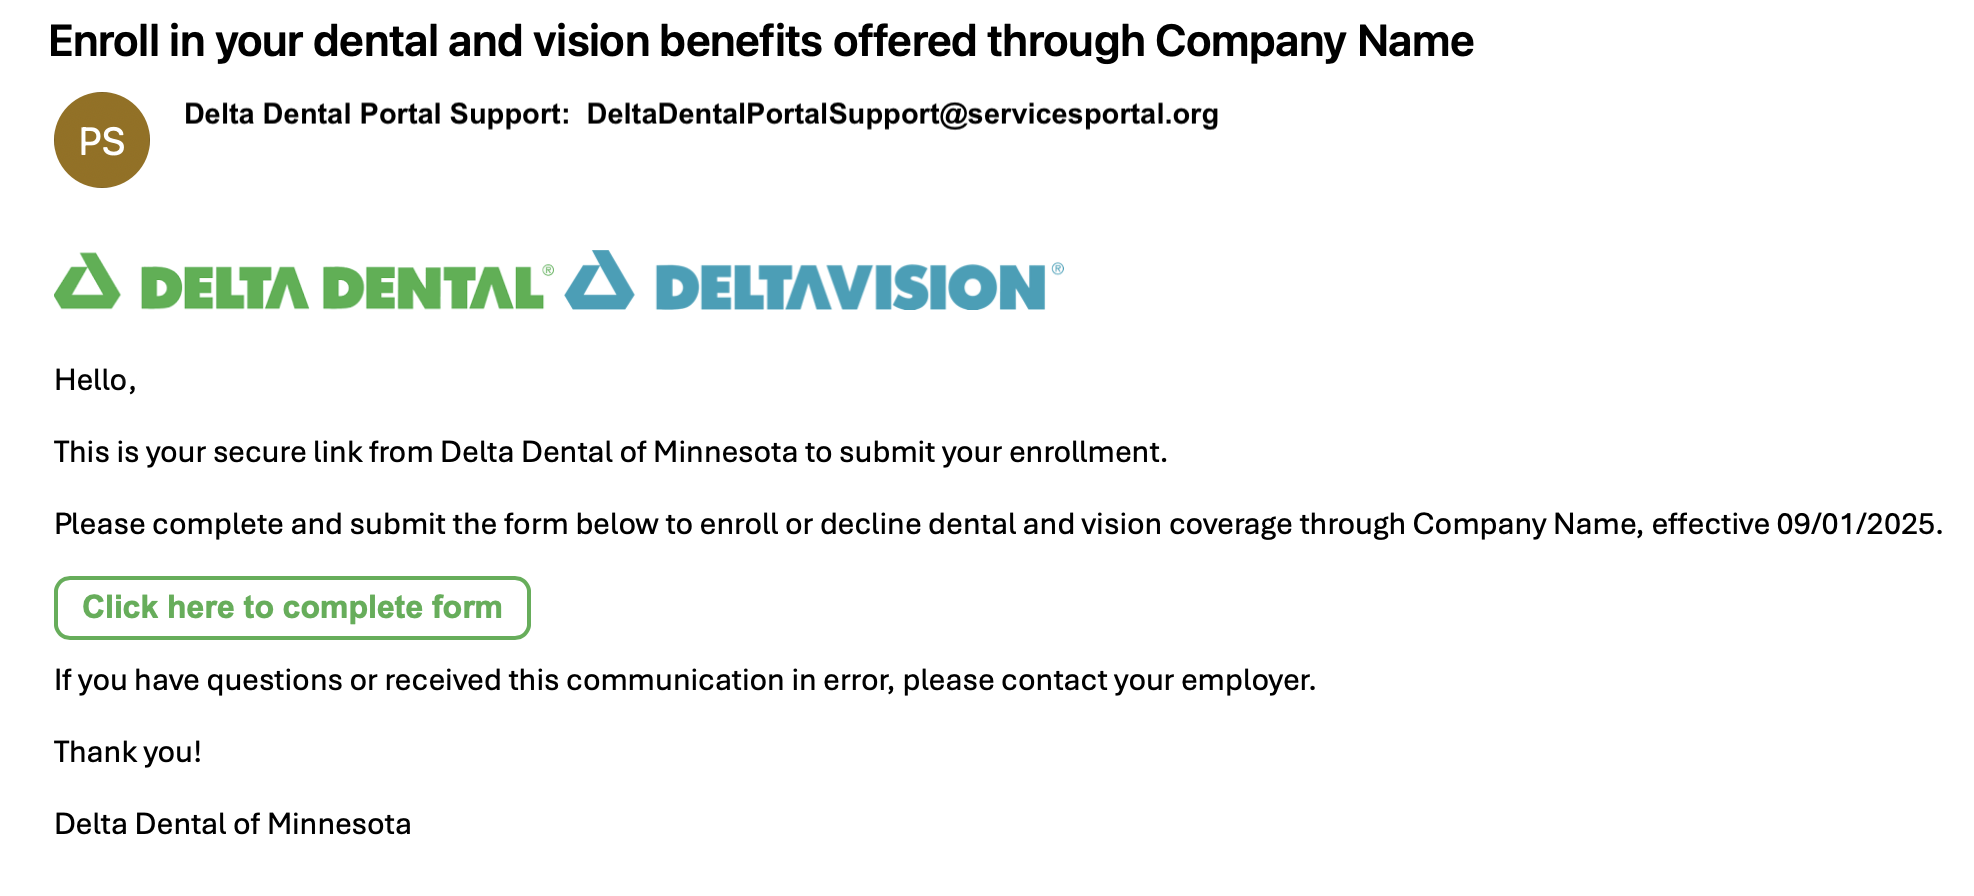
  • Select one of the three convenient enrollment gathering options
  • Request and collect required signatures from your client
  • Track client implementation status

This user guide is designed to help you get started, be a reference tool, and make your user experience easy and efficient.

Small business digital implementation dashboard

Dashboard

The dashboard provides a quick view of applications that have been started, are in process, or complete.

Dashboard Screenshot

Dashboard key features:

  • Start new application
  • Collaborate on applications within your agency
  • View status of submitted applications in real-time

Application progress

Progress indicators

Application status screenshot

You can save your progress at any time and return later to update and complete the information.

There are visual indicators to assist in navigation and help you focus on key areas to complete.

Not started icon

A gray circle indicates that the step has not been started.

Progress icon

A green circle indicates the step you are currently working on.

Not complete icon

A circle with a green outline and a blue edit mark indicates that this step is missing information.

Complete icon

A circle with a green outline and a green check mark indicates that the step is complete.


Application steps

Below is a breakdown of each step in the digital implementation application process. Click on each step for detailed instructions.

1 Client Information

Enter client information

All fields are required in this section in order to submit the application. You may click Save and continue at any time and come back to this step.

Client Information Screenshot

Need to know:

These fields are required for plan selection in step 3 & step 4:

  • Total Number of Eligible Employees
  • Effective Date
  • State
  • Zip code


2 Client Contact Information

Enter client information

Click Add client contact.

Enter the main contact for your client. This contact will receive mailings, contract renewals, billing and overage dependent notifications.

This contact will also receive access to the Employer Services Portal (ESP). The ESP provides your client with convenient tools to manage their group’s dental and vision benefits.

Client information sections screenshot

Select communication preferences.


Communications preferences screenshot

Need to know:

If you add more than one client contact, we will ask you to designate who should receive specific communications.


3 Dental Plan Selection

Dental plan selection

Dental plan selection Screenshot

Need to know:

  • View rates when plan is selected
  • View benefit summary by plan
  • Upload prior coverage information


4 Vision Plan Selection

Vision plan selection

The tool will automatically apply the lower rate for vision when purchasing dental at the same time or if you enter a dental group number when purchasing vision on its own.

Vision plan selection Screenshot

Need to know:

  • View rates when plan is selected
  • View benefit summary by plan

5 Premium Remittance

Client monthly payment method

Select how your client will pay their monthly premium, either by Automated Clearing House (ACH) or by check. You can either select a client contact listed in step 2 or provide an alternate recipient to authorize an ACH payment.

Monthly premium Screenshot


The client will receive an email from [email protected] with steps to complete their authorization.


Sample Email Screenshot


Once the client clicks Complete Authorization, they will enter ACH information.


Premium remittance screenshot

The application will update once the authorization form has been completed by the client.

ACH authorization Screenshot

Need to know:

ACH information will not be displayed in the application. The information will be provided directly to Delta Dental of Minnesota.


6 Employee Enrollment

There are three ways to load employee enrollment information.

Option 1: Download the enrollment census template


You can add additional employees manually. If there was an error in your template, you can clear the table and upload it again.

Employment enrollment screenshot

Need to know:

You must click Save and continue after entering or uploading your enrollment details.

If this step is missed, your data will not be saved.


Fill out the template as follows:

  • One member per row
  • Date format: MM/DD/YYYY or MM-DD-YYYY
  • SSN format: XXX-XX-XXXX or XXXXXXXX
Label Details
Email Optional for enrollment purposes
First Name Required
Last Name Required
Subscriber SSN Required on all lines. Be sure to add Subscriber SSN for dependents in order to associate with the subscriber.
Hire Date Required
Date of Birth Required
Dental Plan See step 2 on screen for your specific elections such as enter 1 to elect and 0 to decline coverage. We do not need waivers, but you can send if you would like.
Vision Plan See step 2 on screen for your specific elections such as enter 1 to elect and 0 to decline coverage. We do not need waivers, but you can send if you would like.
Gender F, M, or U
Mailing Address Required
City Required
State Required
Zip Code Required
Phone Number Optional
Cell Phone Optional
Dependent Type Leave blank for subscriber and enter S for Spouse or NS for non-spouse
Relationship Type Leave blank for subscriber

For spouses:
S for legal Spouse
DP for domestic partner
W for widow

For non-spouses:
C for child
EDP for ex domestic partner
ES for ex-spouse
IRS dependent


After enrollment is uploaded, all employees will appear in the table. The key below indicates the status of each employee.

Green check icon

The green check shows enrollment is complete and ready for submission.

Red X icon icon

A red X indicates required information is missing.

Green pen icon

Click the green pen to complete the fields.


employment enrollment table screenshot

Need to know:

You must click Save and Continue after entering or uploading your enrollment details.

If this step is missed, your data will not be saved.


Option 2: Send employees a link to complete their own enrollment information

In order to send employees links to complete their own enrollment, you will need their names and email addresses.

There are two ways to add employee emails into the application. You can enter the employee’s first name, last name and email address directly into the application or you can upload the information using our template. You must click Save and Continue after entering or uploading employee names and email addresses.

If this step is missed, your data will not be saved.


Employee enrollment screenshot 1

Need to know:

You must click Save and Continue before sending out enrollment links to employees.

The employee will receive their email and will complete their own enrollment details.

Once you send employee links, please ensure you exit this client’s application. Employees will see an error message if you are logged into the application while they are submitting enrollment information.


Green check icon

Enrollment link not sent / Link has been revoked

Red X icon icon

Link sent

Green pen icon

Enrollment complete


Employee enrollment screenshot 2

Option 3: Manually add employee enrollment


Add dependent screenshot 1
Add dependent screenshot 2

Need to know:

Use the fields in the tool to fill in enrollment details.

If the employee has a dependent, click Add dependent.


Adding a dependent.

Add dependent screenshot
Add dependent fields screenshot

Need to know:

Once you click Add dependent, an additional section will display. Click the down arrow to expand the section and enter dependent enrollment information.


Troubleshooting tip:

If you see the red X in the enrollment table, ensure employee and dependent information is complete. If you previously clicked Add dependent in error, open the dependent section and click Remove dependent.


All of the information you enter will appear in the enrollment table. This table will show you where information is missing and indicate when your employee enrollment information is complete.

You must click Save and Continue after entering or uploading your enrollment details before closing out of step 6.

Add dependent fields screenshot

Green check icon

The green check shows enrollment is complete and ready for submission.

Red X icon icon

A red X indicates required information is missing.

Green pen icon

Click the green pen to complete the fields.

7 Review and Confirm

Review Information

Review all completed sections and confirm before you submit your application.

Not started error screenshot
Incomplete error screenshot

Save and Continue screenshot

Need to know:

In this step, you will review the information you completed in the previous steps.

Pay close attention to any error messages. These will need to be addressed before the application can be submitted.

Click Save and continue.


8 Sign and Submit

Sign and submit

Confirm plan rates, sign the application and request client signature.

Confirm rate screenshot

Need to know:

Check the box to confirm sold plan rates.

Request a client signature: send an email to your client contact or fill in the fields to send to an authorized company official not listed in step 2.

The client will receive an email requesting their signature.


Example Email

If you are not the broker of record, send a request for the broker of record’s signature. They will receive an email requesting their signature.

Broker Signature

Great job! If you have signed as the broker of record or requested a signature, you can submit your application.

Once submitted, you can track your implementation progress on the dashboard.